Showing posts with label stool. Show all posts

Thursday, October 24, 2013

Almost Ready For Halloween


Pin It

If I am not mistaken, there's only one week left until the haunted night of 2013 :) My busy schedule didn't allow me to properly prepare like I did last year, but I still managed to prepare a little vignette. You know me, I don't make or buy something new unless I absolutely have to. Recycling and reusing are right up my alley, so I dug up the DIY pictures from last year's Halloween gallery wall. Of course, I chose the spooky black cat (completely understandable since I live with two crazy felines).


As always, color gives the main feeling of Halloween: the blacks, the yellows and the oranges. This is one of the rare occasions when I get to pair the camel leather Moroccan pouf with the shiny Tam Tam stool. The yellow mums were a present from my boyfriend. And if you're wondering about the rug... it's been in my family for generations. It actually belonged to my great-grandmother. I remember this beautiful rug in my grandma's kitchen, where nothing bad could have ever happened. My mom washed it for me and I'll surely post a lot more pictures of it in the months to come.

Monday, February 4, 2013

Crepe Paper Bunting


Pin It

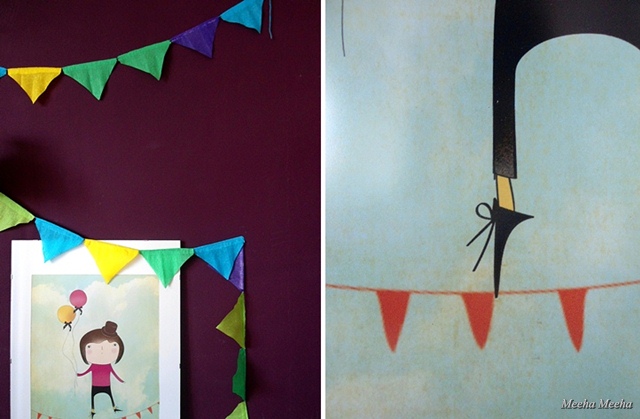
Welcome, pretty spring colors! In honor of the first sunshine days of 2013 (I know, it's been a gloomy year so far!) let's celebrate with a happy crepe paper bunting. The event takes place at my space - in fact the party has already started in my bedroom. The painted dark purple wall (painted by yours truly!) is the perfect backdrop for all the yellows, greens, turquoise and indigo flashes of my crepe paper bunting.


Crepe paper has been my favorite DIY media ever since... oh well, kindergarten! It comes in all colors and it's affordable for anyone. Speaking of its low cost, you can use crepe paper for projects that require LOTS of material, without having to break the bank. Also, you can get creative and try lots of new stuff, because if you mess up with something, there's always plenty more crepe paper rolls and you can start all over again.


The key to display a happy bunting is to gather around some items that you love and are dear to your heart. This way, the impact on your brain doubles, triples, gets ten times bigger and you just have to smile every time you go pass the little "spring shrine". For example, my white princess lamp makes the perfect accent on the purple wall. I also love the contrast between its romantic shape and the mundane texture of the colored crepe paper triangles.


But my display doesn't feel quite right with just ONE lamp. So I also added the green apple floor lamp. An apple a day keeps the doctor away :) Also two lamps in one spot make the perfect backdrop :) And the evergreen "Two lamps are better than one" :)) Seriously now, I think this is definitely my styling signature, because in many of my home corners I've used two lamps together. And I loved it every time.


I've made the crepe paper bunting last spring, so it's not big news on my blog. Still, for those of you who need a little guidance in putting together a banner of your own, here is a small tutorial and the steps to follow:
1. Choose your colors. The variety of crepe paper colors can be overwhelming, so I suggest to play with the rolls until the color combo looks right. The safest way is to go with 3 main colors and then you can as many nuances as you want. 
2. Cut the crepe paper into triangles. The triangles mustn't be even on all sides: leave one side bigger, because that's where you'll be attaching the bunting triangles to the yarn.
3. Apply glue onto the thick side of the triangles, choose a happy colored yarn and start putting everything together. Enjoy!


 A big, big Thanks! to Abbie for featuring the crepe paper banner on Five Days... Five Ways, this is awesome!
five days five ways | feature friday free for all 


Saturday, October 13, 2012

Halloween Gallery Wall


Pin It

Friends, this is the reason why I took all the art down this week. I was in the mood for a dramatic change: a gallery wall with a Halloween theme. Now it is finally done and I get the feeling that I live in a completely different house. Every time I walk into the living room, the bold art strikes me in the face. It's like living on a film set (and what's to complain about that?)


To tell you the truth, I just wanted to have a black pear on my wall. You know me, why pay for something when you can do it (almost) for free? So I payed a visit to my favorite supply store, where I found a sturdy black cardboard that stole my heart with its matte finish and soft texture. I came home and I traced the outline of the pear, cut it with the Exacto and framed it the next morning. So far so good, only that my beautiful pear didn't go with any of the thin-lined art from the Fall transition living room.


"Well, I'll just have to change the rest of the art" was the first thought that came to my mind. As the spooky Halloween approaches, the theme came to my mind naturally. Good thing that the pear was already black: it's quite appropriate for Halloween! I just went out and bought some more of the same textured black cardboard, just enough to replace all the other pictures in the room. This way, I only payed like 4 bucks :)


Thursday, September 27, 2012

Retro Fall


Pin It

I'm getting back to my design roots with this retro look. Why is that? Because in spite of my current decorating style that you can see on the blog, I am in fact a little nerdy at heart. I am a geek who loves round furniture, new materials, organic shapes and acid colors. My first "designer" love in kindergarten was Kubrick's film set from "Space Odyssey" and I've been hooked on 70's style ever since. I still don't understand why we don't see a Djinn chair in every home and why our tables have four legs instead of just one :))


Of course, my personal taste has undergone major changes in the last 30 years. I love an eclectic interior and I've learned to appreciate the charming warmth of natural textures. Still, from time to time, I feel the need to escape to a world of happy curves and this is exactly what we have here today. The Fall colors from the Tam Tam stool, the apple lamp and the little lithography on the wall (upper right corner, made from real leaves) converge beautifully in the Mad Hatter poster. I don't mind, since I've got a Bukowski poetry book to read from :)


Friday, August 17, 2012

Jungle Kids Art


Pin It

I am a hopeless thrifter - I admit, so shoot me now! I rarely buy something new, but every once in a while the thrifting fever hits me and I go running around town, hitting every second hand shop that I know of. My storage is full of old lamps in need of some serious TLC, queer tableware, crooked stools and little boxes (which I am gonna restore - someday soon). This time, I went out there and got back with a set of four jungle scenes. There's the giraffe, the puma, the elephant and the black and white zebra.


Until they will get a new use, they are sitting pretty in my craft room. I don't actually like the designs - well, except the elephant family at the water pond, they are darlings and I also love the turbulent reddish color and the composition. Anyway, my grand plan is to use those square canvases for a higher purpose. Maybe a stencil project? Maybe a neon craze? Some mixed media 3D art? We'll see about that.


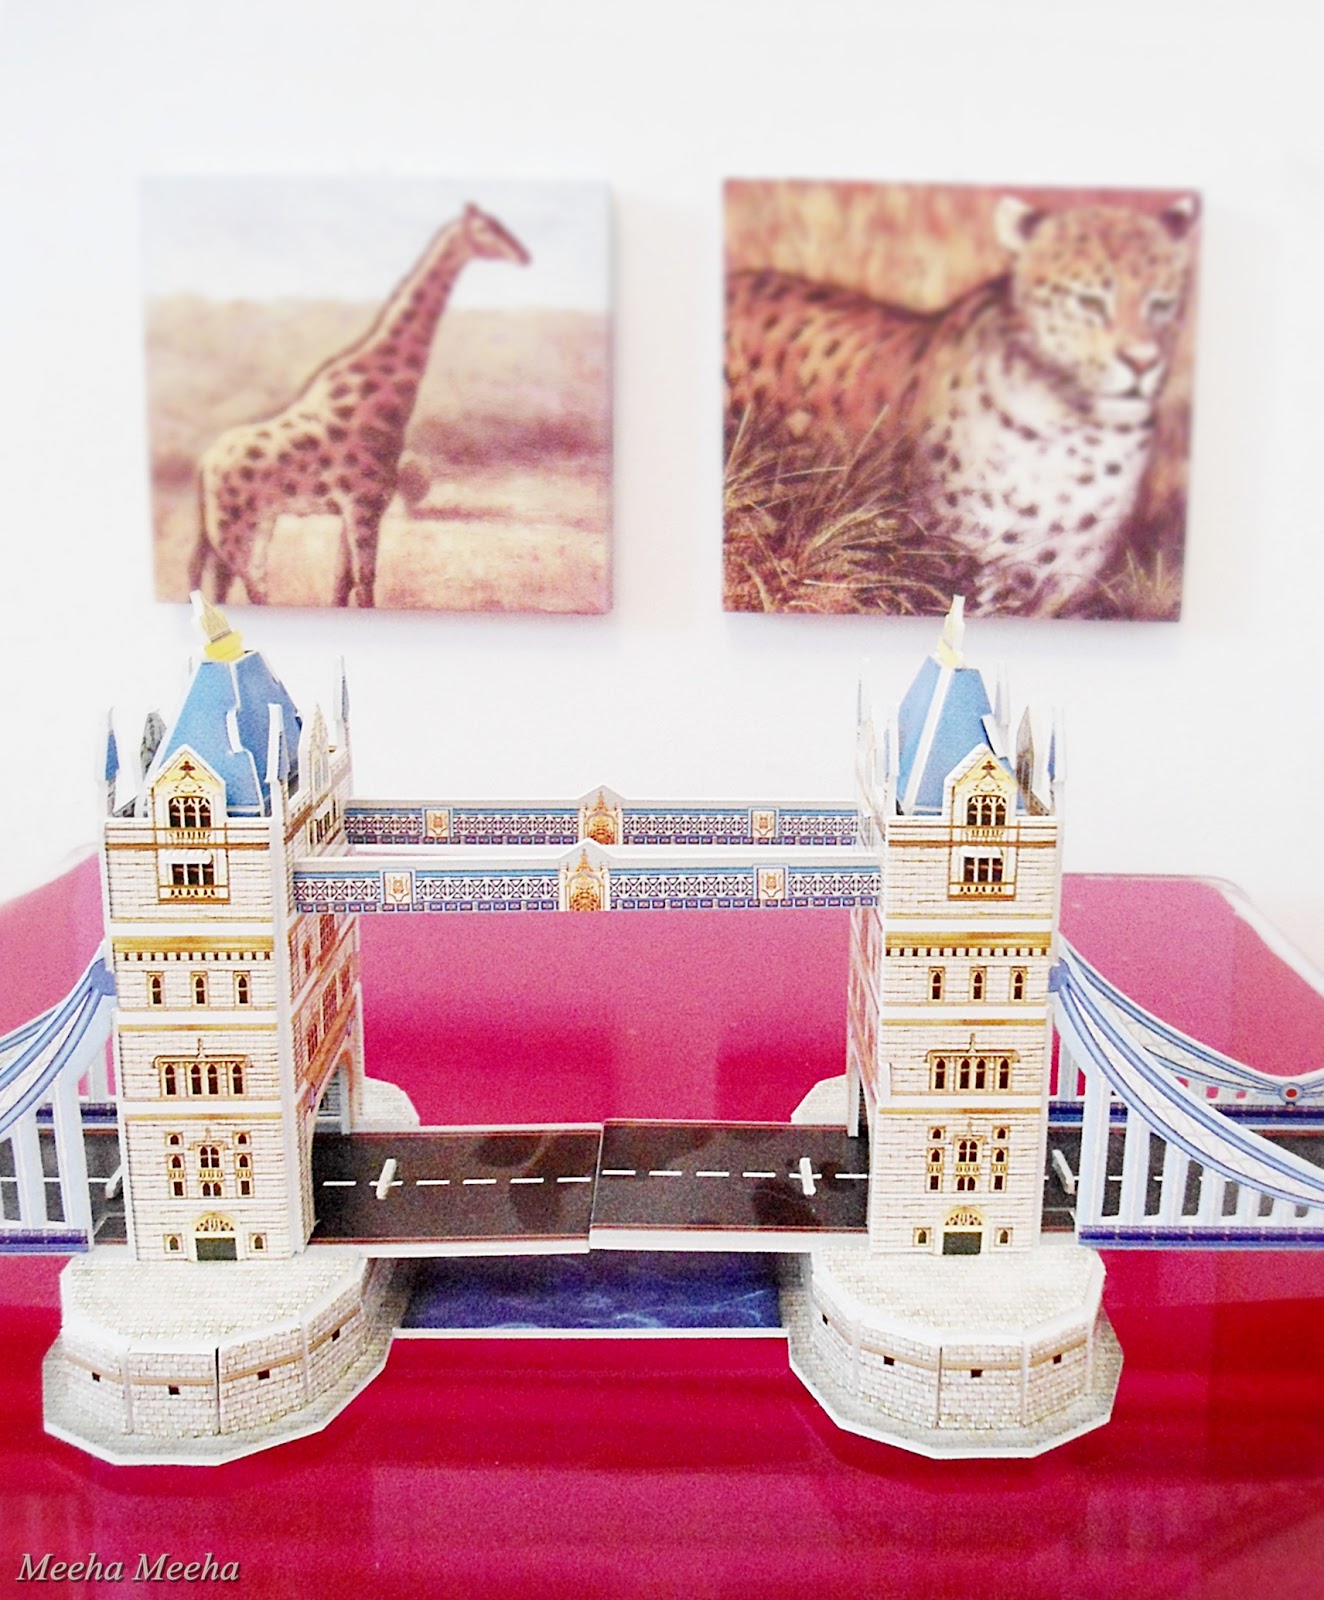
Meanwhile, I've paired the jungle art with a pink Lucite coffee table and some nesting art albums in complementary colors. Please notice Chagall, my favorite visual artist since childhood <3.... The kids theme works great next to the faux wallpaper. There's something charming about bicycles and giraffes together, I must draw them someday :) And for a complete mix and match, I added a 3D puzzle of the London Bridge (thank you, Roxy!) and a crochet wooden stool made by yours truly. Long live the eclectic decor style!

Thursday, July 5, 2012

Summer Picnic On The Floor

Pin It

I'm having a picnic right here on the floor of my beachy living room. This flower bouquet needs some admiration, so I've summoned a lady friend over. She will surely be in awe, seeing the lovely roses and their colorful companions. 


We'll just have sweet vanilla ice-cream, lemon ice tea and ten pounds of raspberries! I'm kidding, but we are both desperate to eat as many raspberries as we can :))


Thursday, June 14, 2012

Mad Hatter Home Office

So many friends ask me where I get the inspiration for my colorful decor.
I'll tell you my secret: DECORATE WITH A SONG!


Please press play and read the rest of the entry while listening to this song :)


I was listening to this "Who The Fuck Is Alice" parody and the child in me instantly thought of the one Alice I love. It's Alice In Wonderland, my second favorite story book when I was just a little girl.

I felt inspired to make a little cheery home office in an unused corner of my home, using the Mad Hatter poster that I already owned.
The Mad Hatter's ginger hair was the same color as in the song's video - so I naturally went with a black and orange color theme in order to spice things up. Needless to say, I just used items around the house and didn't buy anything new for the home office corner.

The Moroccan leather pouf was in the bedroom, the orange Tam-Tam stool and the crazy golden hat were in the happy entryway. I've had the sad little ceramic mask since I was 18 and it follows me everywhere I live. The cute little white lampshade is thrifted and it just sat around the house.


One little thing: I like to place a mirror next to my notebook - so that I can have a magical window while I'm endlessly surfing the web.
That's it, folks! I think the song is over by now, and so am I.


Tuesday, January 17, 2012

DIY Crochet Stool


All you need is a crochet, a wooden stool (from grandma), colored yarn, small nails and a hammer.
It took me longer to find a good You Tube tutorial on how to crochet the "granny squares" pattern, than to actually make the whole thing. I followed Bethintx on her simple, calm, accurate and logical tutorial. Thank you, Beth!
The colors were meant to complement my turquoise living room at that time. I got off-white for the neutral hue, burgundy for the opposite, a playful lime green and of course turquoise.


As for the pattern, I had already made up my mind to crochet the "granny squares". And THAT was the worst decision, since I was working with a round stool. What can I say, stubbornness runs in the family!
Here is a transition phase - nine squares and no connection between them:


Naturally, the crochet stool goes well by the kitchen table:


It is also a great addition in my tiny balcony, if I want to catch the morning sun and have some coffee as well.


Speaking of coffee, it blends perfectly in the living room and it can serve as a coffee table:


Not to mention it is a sturdy nightstand, with plenty of space for your current readings, your glass of water and some of your favorite memories.


And it complements my vintage cabinet, helping me when I get surrounded by too many stacks of books.


SORRY, folks:
No 1: My cat Anais thinks that all the shooting sessions are especially done for her. Hence, she graciously features nearly every picture.
No 2: In onor of my blog, I got myself a brand new camera, which I don't know how to manage properly. Hence, the bleached pictures.
Anyway, you get the idea on the versatility, usability and beauty of a crochet stool!


LinkWithin

Related Posts Plugin for WordPress, Blogger...