Showing posts with label flowers. Show all posts

Sunday, April 20, 2014

Happy Easter!


Pin It

Happy Easter, dear friends, may your hearts be blessed with purity and sheer joy! I hope you all get to spend wonderful moments with your loved ones!
And to my sweet Romanian friends and readers, Hristos a înviat!
Va imbratisez pe toti cu drag si va doresc sa va bucurati cu inima curata si plina de iubire :)

PS: I've been tackling my first decorating project for a commercial client. I've decorated a pub, yay! So stay close, for I am about to reveal quite a few before-and-after photos :)

Thursday, February 27, 2014

A White Hyacinth


Pin It


By the time I was publishing my tutorial on how to force bulbs for Christmas, new bulbs were ready to be forced in my kitchen. This time I put them in clear vases. I like to see the long thin roots, they look like a strange ocean creature from the coral barriers. And now the white hyacinths spread their smell around my home, intoxicating me with memories and spring vacation plans.

Thursday, February 13, 2014

(Early) Spring Balcony


Pin It

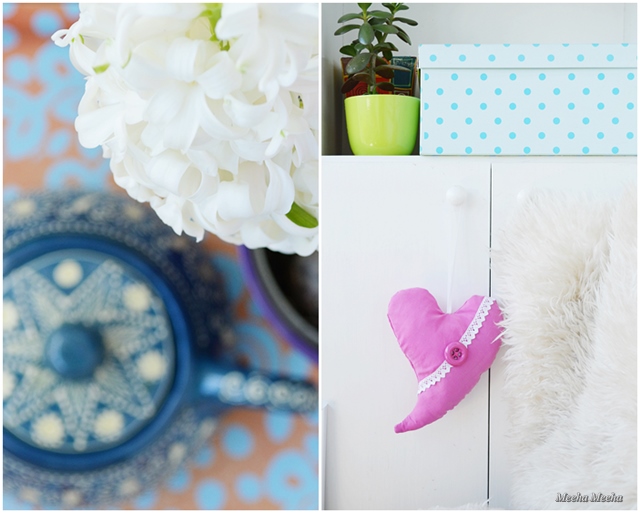
Thank God for warm (and sometimes sunny) weather! Who would have thought that we could enjoy a cup of tea on the small balcony, in February?! So, the days went from bloody freezing to mild and I prepared a cozy corner on the balcony. We've got sheep skin to keep us warm, a well equipped serving tray, potted plants and fresh flowers :)


The pride of my spring balcony are the "green babies" who survived a cold Romanian winter. These plants, mostly succulents, spider plants and ferns, are already trained to spend a few months on the chilly balcony. The space is enclosed with glass, but it's not heated and not many plants can make it til spring. 


I've already daydreamed about enjoying a cup of mint tea with my boyfriend :) Valentine's Day is tomorrow and the balcony is the perfect place to spend the morning together. That's why there is a whimsical heart hanging there. I love the way it looks, with the dusty pink silk and the delicate lace. But the hearts means so much more to me, because it's a handmade present from lovely Lisa. Hop over to her blog Lisa Sol to see her talent in action!


The colors make me smile and it feels like Spring already! Even the hyacinths come in three colors! I just used whatever was handy, not thinking about the chromatic at all. That's why you can see a lovely mix of greens, blues and pinks against the white background of the balcony. Oh, and a little bit of yellow, too!


Ladies, you are invited to take a break with me on the balcony. It is warm and fresh in here. It smells of hyacinths and tea and honey. The teapot is made by local artisans and the green poster is a simple DIY from origami paper. If it gets dark, we'll light the candle and the Moroccan lamp on the shelf! 


Friday, December 13, 2013

Monochrome Gift Wrapping


Pin It

Natural herbs have become my best friends! You can see how I've played with their delicate hues and intricate designs here and here. Now I thought of celebrating their beauty by incorporating them into a subtle gift wrapping in the same color. Here they are: monochrome gifts!


There are several ways you can apply the dried herbs while keeping a minimalist appearance of the gift wrap, as you can see in the photos below:


Just wrap the gift box in soft lavender and put the twig on top. Secure the gift with a single line of wool.


For the black gift wrapping I used a little bit of black washi tape to keep the berries on top of the box.


Or you can tie together two twigs with thread, then add a drop of glue onto the craft paper gift wrapping!


The monochrome gift wrapping is super-easy to make if you stick to these simple rules:
1. Choose your natural twigs and berries first, then find color-coordinated paper in similar shades.
2. Use little or no yarn at all (same goes for ribbon, tags or other embellishments).
3. Less is more - don't overcrowd the gifts. But you can be as creative as you can :) Enjoy!


Linking up to these lovely parties.
And some of them require a backlink in the actual post, so here they are:
http://adiamondinthestuff.blogspot.ro/   http://www.myuncommonsliceofsuburbia.com/   http://www.blackberryvine.blogspot.ro/   http://www.cedarhill-ranch.com/   http://diycraftyprojects.com
http://www.sew-much-ado.com/   http://www.elizabethandco.blogspot.ro/   http://thelifeofjenniferdawn.blogspot.ro/

Monday, November 18, 2013

The Perfect Yellow Mum


Pin It

Yellow! How you're doin'? I hope you all had a great weekend :)
Today's post is nothing more than a weather-dependent blogger's attempt to fight the cold November rain and drizzle. So here are a few pics of a sunny chrysanthemum to brighten up your day. And your entire week - since it's only Monday and we've got so much to do...


The yellow mum looks like total Fall to me. In spite of Christmas coming upon us with a vengeance in the supermarkets and just about every where else in Blogoland, my mood is far from Christmas-y. So let's enjoy a perfectly spherical yellow mum on a perfectly round Tam Tam stool in orange. Oh, and the gourd which would not stand up (click here to read more about how I've finally styled it).


Monday, November 11, 2013

How To Decorate With A Super Gourd


Pin It

Difficulty: easy peasy;
Time to complete: 10 minutes;
Budget: 1 euro for the gourd;
What I love the most: the contemporary look (which is exactly what I was going for).

Autumn is the perfect time to decorate with elements of nature. There are so many round pumpkins, fiery colored leaves, delicate wild berries, perfect pine cones and crazy looking gourds, that it's practically impossible to resist them. You just have to bring the nature indoors! 
Speaking of crazy shapes, I got this plus-size gourd on a September trip to the South of Romania. It looks like a cross-bread between a bowling pin and a wine decanter, don't you think? I decided to make it the living room attraction, but decorating with a huge gourd is no easy challenge. In case you need to decorate with a single gourd, follow a few design rules:


So let's see what can be done to create a vignette for this outstanding gourd:

1. LOCATION, LOCATION, LOCATION!
Find the perfect spot for your display. Choose a common room if you want more visibility. Make sure that your vignette gets plenty of light and that it's not overshadowed by other decorations in the room. 
The first question was "Where to put the gourd?". My first option would have been the home office, but there already was another gourd arrangement on my desk. So I decided to put it in the living room, where all my friends could see it from the moment they entered the room.

2. CHOOSE YOUR STYLE. 
Should you make a traditional Fall-ish shrine to nature? Should you go streamlined and minimal? The simplest way is to assess your room decor style and to create an assorted vignette.
Even if the classical approach is to make a fall arrangement with many gourds and leaves, I wanted to use the giant gourd as a stand-alone attraction. It also works best with the eclectic style of my home.


3. CHOOSE COLOR, SHAPE AND TEXTURE.
Start with the color of your gourd and work your color scheme around it. You can use a monochromatic, a contrasting or a complementary color scheme, depending whether you want your vignette to look natural & soothing, striking or interesting, respectively.

You don't need to buy new stuff! Go through your cabinets and find items to fit your color scheme.
I decided to use a complementary color scheme, with maximized contrast, for a guaranteed WOW effect. The gourd is green and green's opposite color is red. Green and red would be my color scheme. From this point on, we were down to business. Once I had the plan, I chose the DIY pink/red side table as my base. In the cupboards I found a red pitcher and a red candle holder. They were both round in shape and made of glass, similar in shape to the gourd's "belly" and contrasting with the heavy texture of the gourd.
For an eye-pleasing effect, I added a few items in neutral colors (the lamb and the baby-breath flowers) and  some cute tiny accents (the washi tape and the felt balls).


4. THE TRIANGLE LAYOUT. 
As you may already know, when in doubt use an asymmetric "A" shape layout. This way you make sure that the eyes of the beholder travel throughout the entire vignette. Layer the elements, placing the taller ones in the back row and the smaller ones in the foreground.

The gourd has been a successful conversation-starter, namely because I've made it the focal point of the room. Also, my boyfriend is amused by its shape and size and calls it "his arch-enemy", so the super-gourd is a great addition to our home :)

Wednesday, November 6, 2013

How To Force Bulbs For Christmas


Pin It

Wow, it's November already! 
Yay! This means that "Christmas preparations" season is officially open in my home. I've already made up my mind about what colors to use for the holidays. And the hyacinth bulbs are already being forced tricked to be in full bloom for the magic evening of December the 24th. 
Having tiny paper-whites and hyacinths and crocus flowers in the middle of the winter season feels wonderful. Need proof? These are my little touches of life from last year (yes, I stumbled upon these old pics and thought they would make a great tutorial). I advise everyone to buy some bulbs and force them to bloom. First you need to chill the bulbs in the fridge for 4-6 weeks. Better yet, you can buy pre-chilled bulbs almost everywhere nowadays! Just follow these VERY simple steps:


1. Fill a tiny vase with gravel. Instead of gravel, you may use rocks or clay pellets. Or just use gardening soil.
2. Fill the vase with water. Make sure you use clean, filtered water. If you pour tap water directly into the vase, the chlorine in the water will damage the plants. For chlorine-free water, pour tap water into a bottle and let it "breathe" for 3 days - and the chlorine will slowly evaporate (so don't close the bottle!).


3. Put the bulb on top of the gravel (if you use a larger pot, squeeze in as many bulbs as you can, depending on their size). Make sure that the bottom of the bulb doesn't touch the water (or else the bulb will rot and then it's goodbye, beautiful hyacinths!)
4. Special note for bloggers: If you think that your bulbs are too beautiful to be stacked away for a few weeks, now is your chance to grab them and make a few arrangements and photos, before they start growing roots. I couldn't help myself and made a vignette using kitchen bowls and the DIY washi tape vase :)


5. Leave the bulbs in a cool, dry place. I put mine in the cabinet on the balcony, which is the coldest corner of the apartment. After 10 days, little roots were starting to show already. Maintain the water level by adding a few drops now and then - always making sure that the water doesn't touch the bulbs.
6. When the leaves are already a few inches tall, you can move the hyacinths some place warm and sunny.


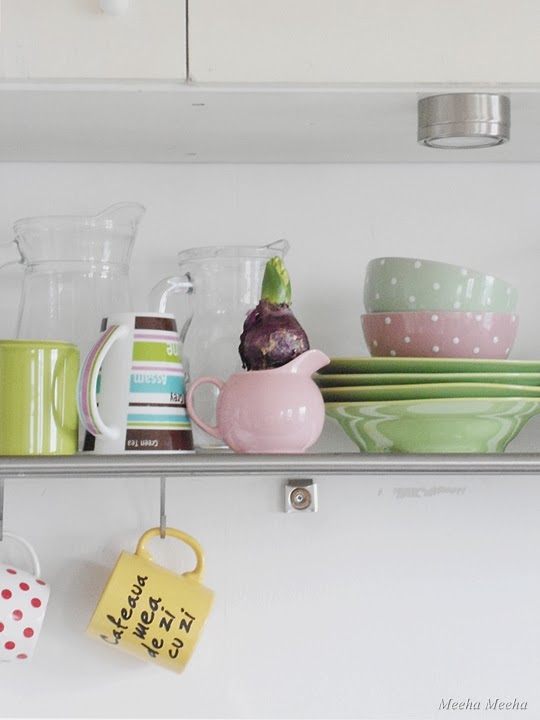
For example, my Christmas bulb came to live with us on the kitchen shelf. We admired its delicate beauty in all the stages. Watching a plant grow little by little every day and forming blooms under your very eyes - priceless! So hurry up and buy your own bulbs if you haven't done it already, because Christmas is coming in just 8 weeks :)


Thursday, October 24, 2013

Almost Ready For Halloween


Pin It

If I am not mistaken, there's only one week left until the haunted night of 2013 :) My busy schedule didn't allow me to properly prepare like I did last year, but I still managed to prepare a little vignette. You know me, I don't make or buy something new unless I absolutely have to. Recycling and reusing are right up my alley, so I dug up the DIY pictures from last year's Halloween gallery wall. Of course, I chose the spooky black cat (completely understandable since I live with two crazy felines).


As always, color gives the main feeling of Halloween: the blacks, the yellows and the oranges. This is one of the rare occasions when I get to pair the camel leather Moroccan pouf with the shiny Tam Tam stool. The yellow mums were a present from my boyfriend. And if you're wondering about the rug... it's been in my family for generations. It actually belonged to my great-grandmother. I remember this beautiful rug in my grandma's kitchen, where nothing bad could have ever happened. My mom washed it for me and I'll surely post a lot more pictures of it in the months to come.

Friday, September 20, 2013

The Last Petunias & Pansies On The Small Balcony


Pin It

Good bye, hot summer days! Good bye, summer blooms! Little pansies, you are the last ones standing (in the pot), more fragile than Chinese paper rolls. Thank you for being my friends throughout the endless summer days. Thank you for not giving up on me, every time I was gone and there was just not enough moisture in the air. Thank you for showing me your soft velvet colors and for keeping me great company.


And farewell to you, too, sweet and sensual petunias. You've given me the splendor of your bursting blooms - dozens of them, springing out of the pot like a magic fountain of purple delight! Thank you for teaching me optimism, positive thinking and stamina! I'll always cherish you, especially in the darkness of the dreaded winter season. I love you, silent pets, quiet friends of ephemera life.


Monday, June 10, 2013

My Fun Nightstand


Pin It

Hi, Janel, this post is from me to you, girl! You know how much I like sharing colorful spaces and vignettes with people who get the same vibe :) So here's a simple Hello! from my nightstand. I was never a big fan of elegant spaces in ethereal earth tones... I say give me some color and energize my morning! So now that I'm struggling with two jobs, I need to start the day with fresh flowers and a smile by the bedside.


The nightstand is actually one of my old DIYs: the pink Lucite coffee tables have moved by the bedside. They make the prettiest nightstands - in acid colors, never the less! There are usually stacks of books by the bed... but now that I'm crawling to bed much too late every night, I just keep some light reading - a lovely book from a short film festival.


My secret to a morning smile is... not that, you naughty girl!... it's the textile mix! Traditional rug versus urban stripes, whimsical patterns versus a posh retro curtain, plus the touch of natural fibers. The more pillows, the better! And to get back to everybody's question: yes, I could repair the poor one-eyed doll. I just don't have the heart to, because I've had it since 5th grade and her current state is a reminder of how old I am now small I once was...


LinkWithin

Related Posts Plugin for WordPress, Blogger...